Sometimes, the default footer is just not enough and you need something more advanced for your project. We made it easy with Page Builder Framework to display your custom Footer – built with your favorite page builder – throughout your entire website.
Once you’ve saved your footer as a global row/template, there are several ways to accomplish this:
1. Action Hook
Paste one of the code snippets below to your child-theme’s functions.php and replace the id in the shortcode with the one of your saved row/template. We assume you’re using Elementor or Beaver Builder in this example:
Example (Elementor Pro):
add_action( 'wpbf_before_footer', 'prefix_my_custom_footer' );
function prefix_my_custom_footer() { ?>
<footer role="contentinfo" itemscope itemtype="http://schema.org/WPFooter">
    <?php echo do_shortcode('[elementor-template id="xxx"]'); ?>
</footer>
<?php }
Example (Beaver Builder):
add_action( 'wpbf_before_footer', 'prefix_my_custom_footer' );
function prefix_my_custom_footer() { ?>
<footer role="contentinfo" itemscope itemtype="http://schema.org/WPFooter">
    <?php echo do_shortcode('[fl_builder_insert_layout id="xxx"]'); ?>
</footer>
<?php }
2. Shortcode Premium
Some Page Builders give you the ability to display a saved row/template with a shortcode. Here are 2 examples:
Elementor Pro – [elementor-template id="xxx"]
Beaver Builder – [fl_builder_insert_layout id="xxx"]
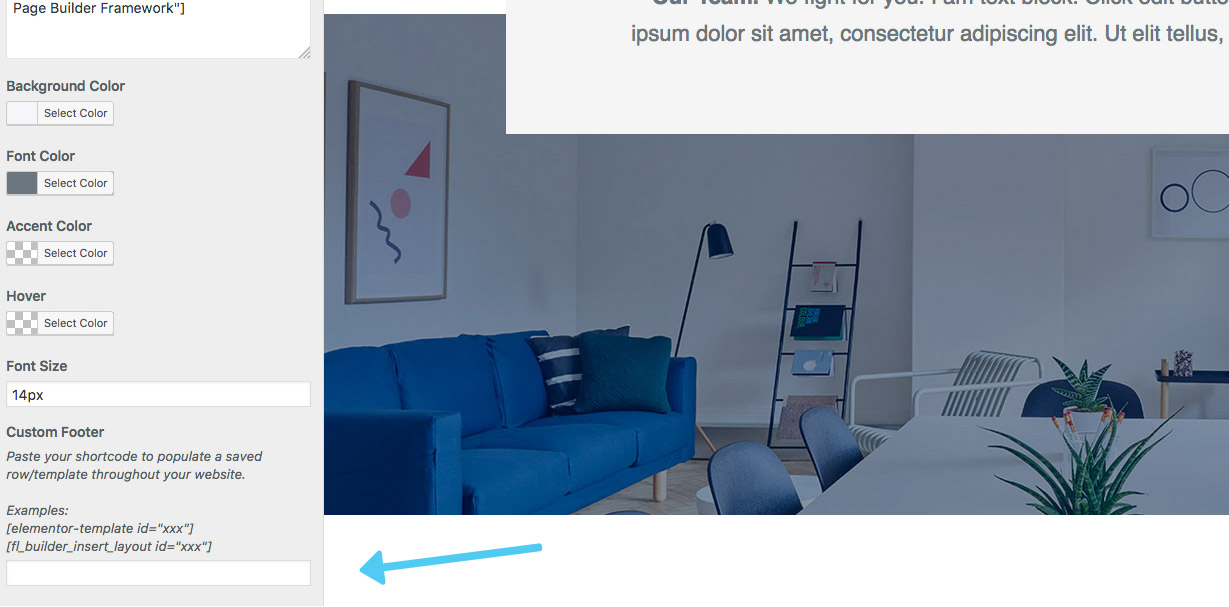
Make sure to replace xxx with the actual id of your saved row/template. Now, all you need to do is paste your shortcode in the Custom Footer area under Footer -> Footer Settings in the WordPress customizer.

3. Custom Section Premium
This is the most advanced method. You can create a custom footer making use of the Custom Sections feature. Unlike the other methods, this will allow you to display the footer based on your display conditions.
